
Projective Textures on visionOS 27: Video on a 3D Model and in Physical Space
A concise Astra walkthrough: connect one video timeline to a curved model screen and a RealityKit spotlight, then understand the visionOS 27 Projective Textures API.
Astra is a concrete spatial application sample: a YVR 600C USDZ model is placed in Apple Vision Pro, moved, scaled, rotated and expanded. Modeled keys switch video presets; the curved screen displays the video while a projector consumes frames from the same timeline.
The article keeps one central distinction: VideoMaterial belongs to the model screen, while SpotLightComponent.ProjectiveTexture belongs to the projector. They may share an AVPlayerItem, but UV work, frame extraction and resource lifecycles should remain separate.
Start with clear spatial boundaries
Let the control window own state and actions, ImmersiveSpace own the spatial scene and tracking, and a custom root own the model transform. Load the USDZ into a container, inspect its visual bounds, normalize its longest edge and then place it. Screen, button and projection systems should be independent modules.
@main
struct AstraApp: App {
    @State private var appModel = AppModel()

    init() {
        KeyboardActionComponent.registerComponent()
    }

    var body: some Scene {
        WindowGroup { ContentView().environment(appModel) }
        ImmersiveSpace(id: appModel.immersiveSpaceID) {
            ImmersiveView().environment(appModel)
        }
        .immersionStyle(selection: .constant(.mixed), in: .mixed)
    }
}
This makes failures diagnosable: a missing model points to placement, a missed tap to the input tree, a stretched screen to UV mapping, and a missing wall projection to availability, GPU or World Sensing conditions.
Play video on the 3D model screen
Replace only the named screen entity's ModelComponent. Cache the authored mesh and material, wait for the AVPlayerItem presentation size, rebuild UVs with a cover crop for the curved surface, then create VideoMaterial. On stop or replacement, pause the player, remove the current item and restore the original component.
func installVideo(on screen: Entity, item: AVPlayerItem) throws {
    guard let original else { throw VideoError.missingGeometry }
    let mesh = try makeVideoMesh(
        from: original.mesh,
        videoAspectRatio: Float(item.presentationSize.width / item.presentationSize.height)
    )

    player.replaceCurrentItem(with: item)
    screen.components.set(
        ModelComponent(mesh: mesh, materials: [VideoMaterial(avPlayer: player)])
    )
    player.play()
}

func restoreScreen() {
    player.pause()
    player.replaceCurrentItem(with: nil)
    if let original { screen?.components.set(original) }
}
The screen geometry and normals remain authored by the USDZ; video is a recoverable temporary material. This keeps content changes from contaminating the model and prevents aspect-ratio distortion.
A visible modeled key is not interactive by itself. Create an invisible hit region for each key, attach InputTargetComponent, CollisionComponent and a custom KeyboardActionComponent, then receive the hit with targetedToAnyEntity(). Walk from the hit child toward its parents until the action owner is found, and let one action enum call playback, projection or preset logic.
let region = Entity()
region.name = "AstraVideoPreset_1"
region.components.set(InputTargetComponent(allowedInputTypes: .all))
region.components.set(
    CollisionComponent(shapes: [.generateBox(size: buttonSize)])
)
region.components.set(KeyboardActionComponent(action: .preset(1)))
button.addChild(region)

func handleTap(on hit: Entity) {
    var candidate: Entity? = hit
    while let entity = candidate {
        if regions.contains(where: { $0 === entity }) {
            activate(entity)
            return
        }
        candidate = entity.parent
    }
}
Guard the action while the model is exploding, media is loading or the scene is changing, and debounce repeated hits by about 0.25 seconds. Use an outer proxy with ManipulationComponent.HitTarget for whole-model manipulation instead of a global collider that steals button hits.
Projective Textures API: send video frames into a spotlight
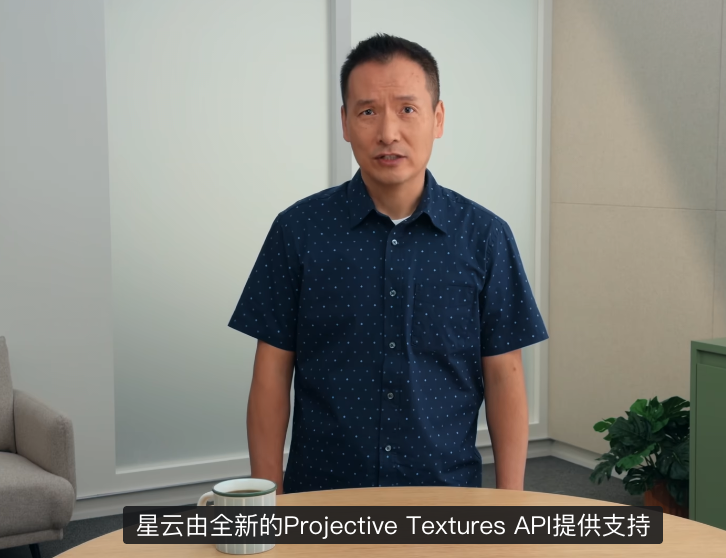
In WWDC26 Session 287 ↗, Apple shows how to add textures to spotlights. Astra replaces a static texture with video frames: AVPlayerItemVideoOutput exposes a new frame, Metal writes it into a LowLevelTexture, and SpotLightComponent.ProjectiveTexture receives it. SurroundingsLight makes the spotlight participate in supported spatial lighting.
if #available(visionOS 27.0, *), device.supportsFamily(.apple6) {
    let texture = try makeProjectiveTexture(size: 1024)
    spotlight.components.set(
        SpotLightComponent.ProjectiveTexture(texture: texture)
    )
    spotlight.components.set(SpotLightComponent.SurroundingsLight())

    let output = AVPlayerItemVideoOutput(pixelBufferAttributes: [
        kCVPixelBufferPixelFormatTypeKey as String: kCVPixelFormatType_32BGRA
    ])
    item.add(output)
    guard output.hasNewPixelBuffer(forItemTime: item.currentTime()),
          let buffer = output.pixelBufferAndDisplayTime(forItemTime: item.currentTime()).pixelBuffer,
          let commandBuffer = commandQueue.makeCommandBuffer() else { return }
    let target = lowLevelTexture.replace(using: commandBuffer)
    render(buffer, to: target, commandBuffer: commandBuffer)
    commandBuffer.commit()
}
The two consumers stay separate: the screen answers how video is mapped onto a curved surface; the projector answers how a video texture leaves the model and is cast into space. Real wall validation requires visionOS 27, Apple GPU family 6, World Sensing and an Apple Vision Pro device.
Validate in risk order
Use four checks: verify placement and recovery; verify button hits in assembled and exploded states; import a real video and check cover-cropped playback, pause and material restoration; only then validate projection direction, scale and masking on device.
func makeProjectorIfSupported() -> ProjectorController? {
    guard #available(visionOS 27.0, *),
          let device = MTLCreateSystemDefaultDevice(),
          device.supportsFamily(.apple6) else { return nil }
    return ProjectorController()
}Replace this slot with an Apple Vision Pro device screenshot when available.
The reusable lesson in Astra is boundary ownership: ModelPlacement owns placement, KeyboardActionComponent owns input, ScreenVideoPlayer owns media, and VideoProjector owns texture submission and capability checks. Projective Textures is easier to debug when it is one explicit consumer of the video timeline rather than a hidden side effect of the screen material.
Need a development path from spatial assets to a working visionOS prototype?
Contact DarkString →